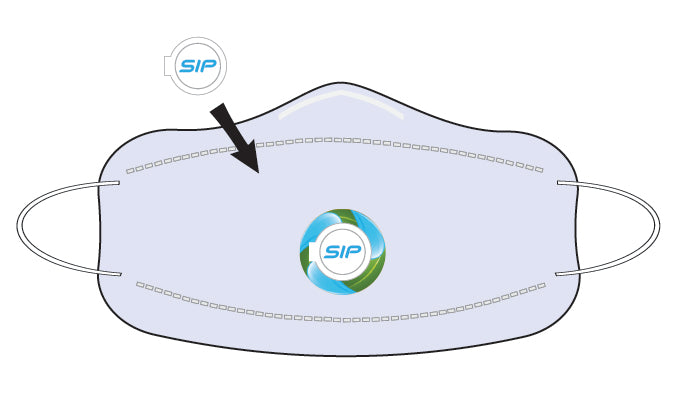
Install SIP Valve onto any mask
SIP Valves are reusable and can be reinstalled up to 10 times on different masks.
Replace with a new valve after 10 installs or every 30 days.
We suggest washing the SIP Valve between installs. You can wash by hand (with soap or rubbing alcohol) or throw it in the dishwasher. Dry thoroughly before installing on mask.
Select install location on mask:
-

Best placement for most masks (N95, KF94, surgical, cloth)
-
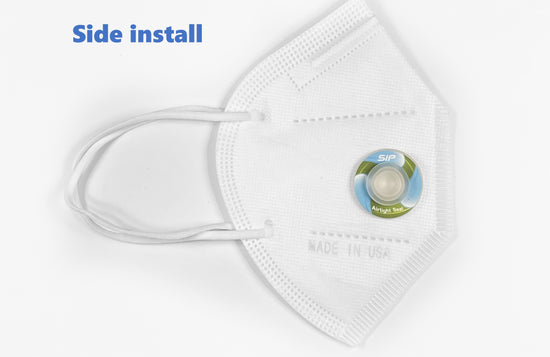
Alternative for masks with a center seam (KN95)


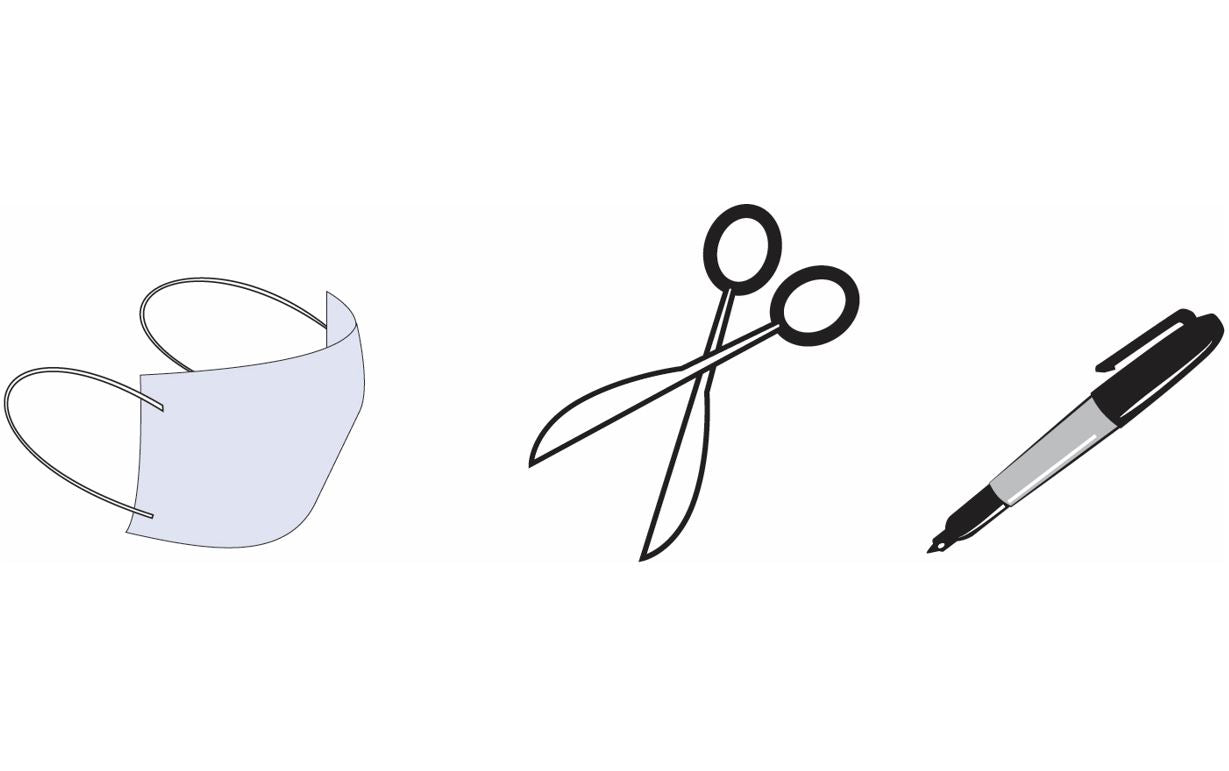
What you'll need...
Mask
Scissors or utility knife
Pen
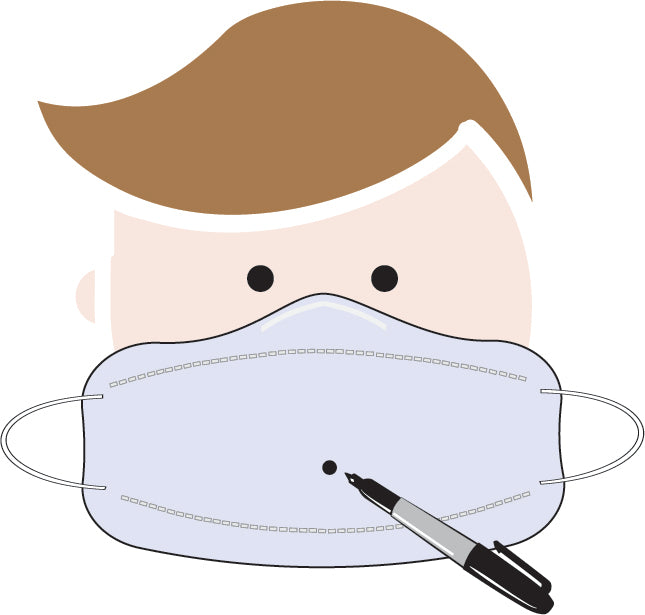
1. Mark your custom mouth position on the mask
Put your mask on as you would wear it (ie, stretching out any folds or pleats over your face).
- For a center install, pucker up and mark a dot between your lips (on the outside of the mask).
- For a side install, choose which side you'd prefer to drink from. Then mark the dot on your lower lip, halfway between the center and corner of your mouth.
Tip: For your first time, it may be easier to do this in front of a mirror.
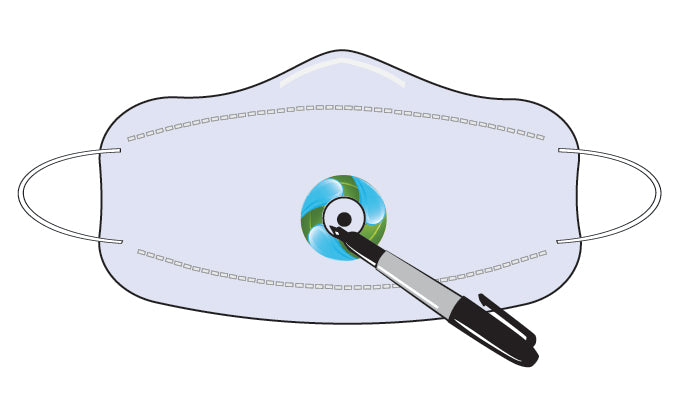
2. Draw a 0.625" circle around the dot
Remove the mask from your face, and place the securing ring around the marked dot, centering it.
Using a pen, trace the ring’s inner circle. Then put aside the securing ring for now.
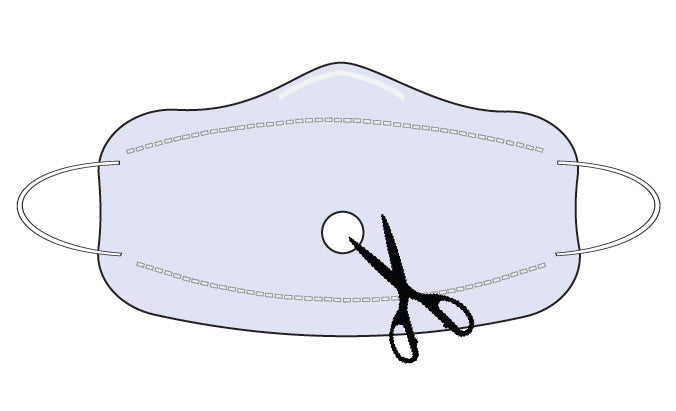
3. Cut a hole in the mask
Use scissors or a utility knife to cut out the circle you just traced. This should result in a hole with a diameter of 0.625"
Note: Cut around the outside of the circle. DO NOT CUT A HOLE SMALLER THAN THE CIRCLE. Cutting smaller will squeeze and deform the valve, preventing it from sealing properly.
Tip: First pierce a hole through the center of the marked circle using the tip of a knife or scissors. Once you've pierced it, you can then put the scissors through and cut out the circle.
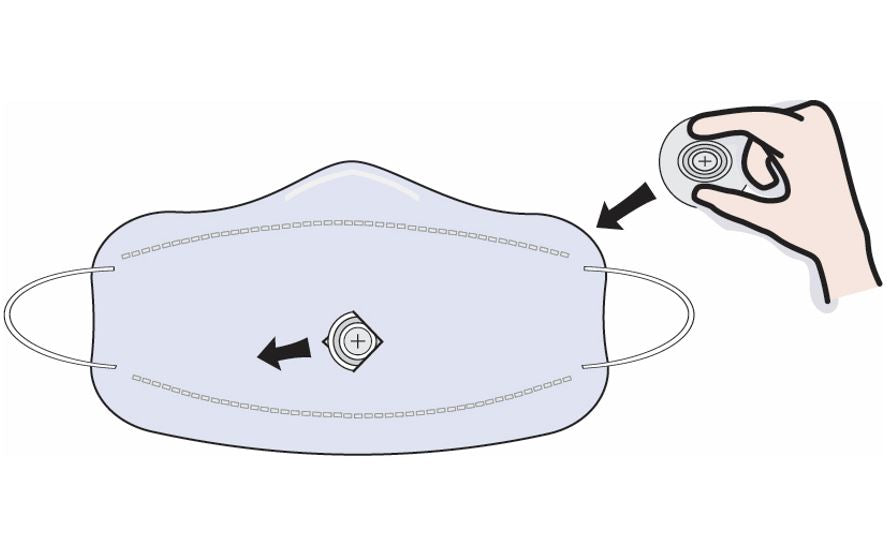
4. Squeeze the valve head through the hole
Unfold the mask. Starting from inside the mask, pinch just the valve head and squeeze it through the hole you just made. Push it through like a button.
The valve head should end up on the outside of the mask, while the wider base should remain on the inside.
Pro tip: You can combine steps 4 and 5 by placing the securing ring over the hole and pushing the valve through both the mask hole and the securing ring at the same time.
5. Slip the securing ring over the valve head
Place the securing ring around the valve, squeezing the valve head through the securing ring's hole. Again, push it through like a button.

6. Inspect the valve
- Pull the bottom edges of the valve head up over the securing ring. Make sure the valve head is fully through and isn't being pinched on any edge.
- Check that the valve head is round and not being squeezed into an oblong shape.
- Check inside the mask to see if the wider base of the valve (in the mask's interior) is sitting flush and not rippled/folded. If it is, the hole you cut into the mask is most likely too small (no smaller than 0.625").
- Going back to the outside of the mask, make sure the valve petals are closed, creating a seal. If the petals are not sealing properly, please reach out to us for further guidance.
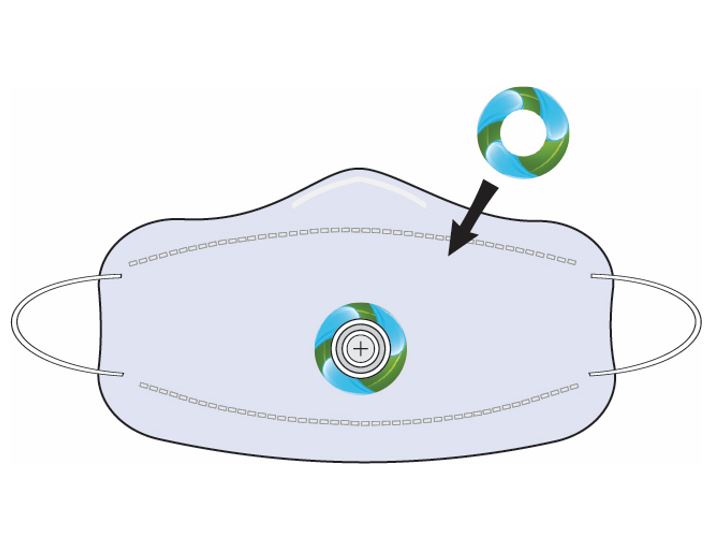
7. Place the cap over the valve when not in use
The cap isn't strictly needed to maintain the airtight seal. It's simply there to keep the valve clean when not in use.
Use the rectangular tab on the end of the cap to pull it off.
Tip: Push against the securing ring if you need leverage to pull off the cap.